Match the connection before plugging in
- First, identify the microphone’s connector and find a speaker input that supports it.
- For a wired mic, connect matching XLR or 1/4-inch ends directly. If the connection types differ, use the appropriate adapter.
- For a UHF or VHF wireless mic, connect its receiver output to a supported XLR or 1/4-inch speaker input.
- Adjust the speaker’s volume or gain, then listen for clean sound without feedback, distortion or a weak signal.
With both pieces of gear in front of you, we’d check the speaker input before buying or plugging in a cable. A matching plug matters, but the speaker still needs to support that input, and a typical Bluetooth speaker doesn’t have a dedicated microphone input.
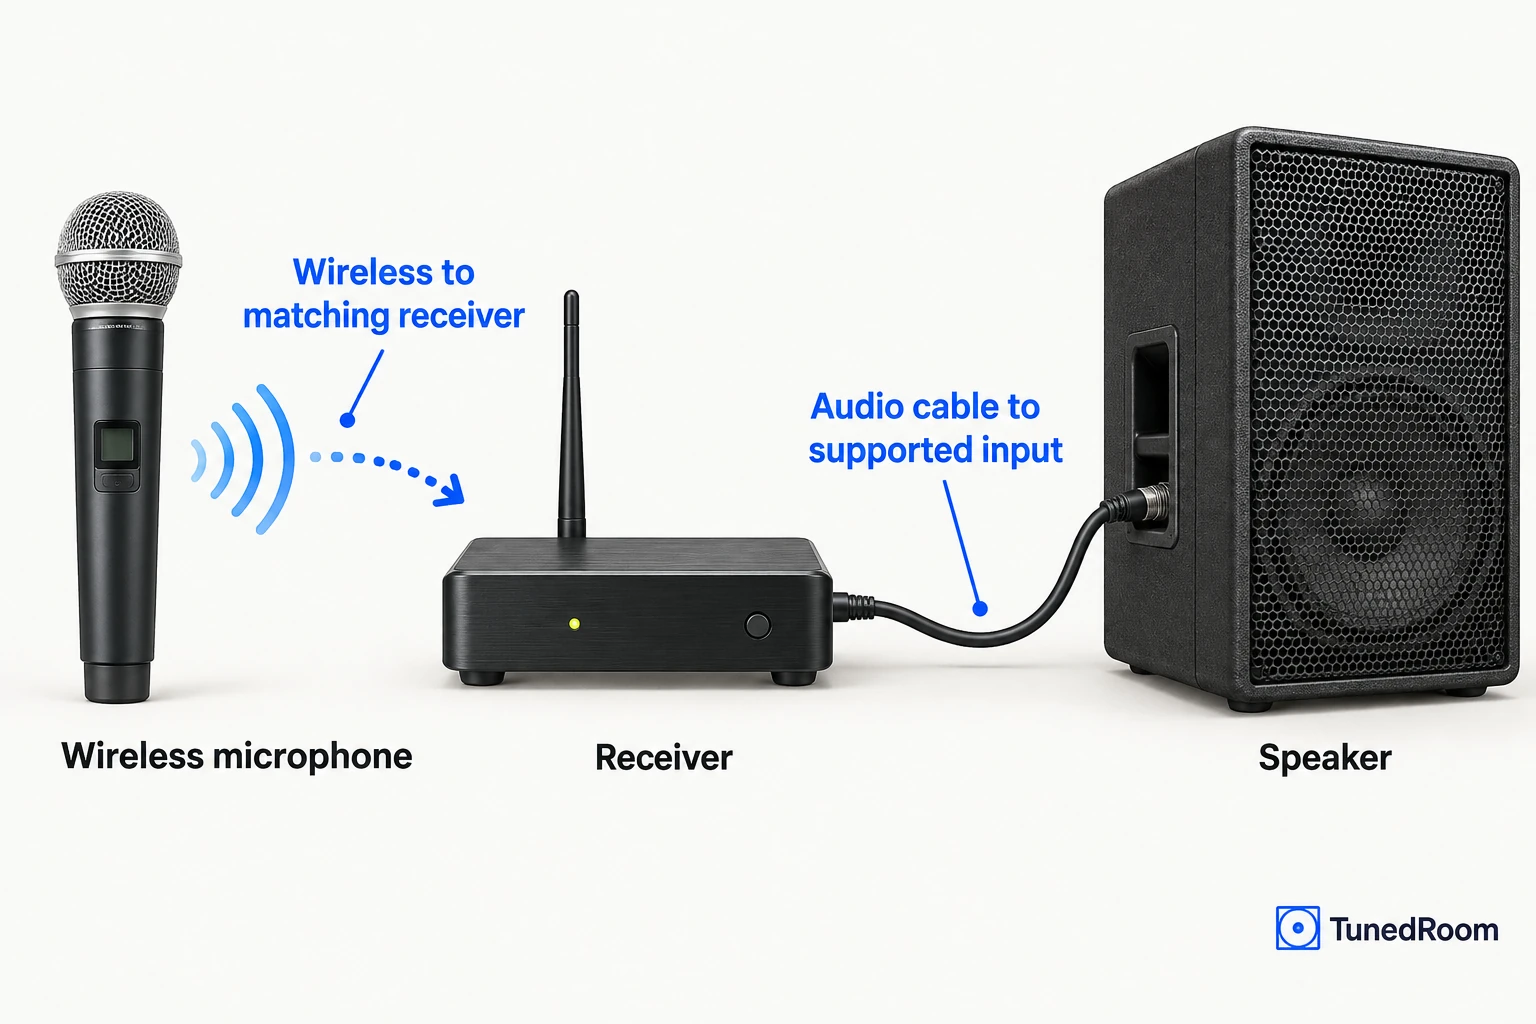
Follow the signal path from the mic to the speaker. A wired microphone feeds the speaker through a compatible input, while a UHF or VHF wireless microphone sends audio to its receiver before the receiver feeds the speaker.
Which connector belongs in which input
| What’s on the microphone | What the speaker needs | Connection to make |
|---|---|---|
| XLR | A supported XLR input | Connect the microphone and speaker with an XLR cable. |
| 1/4-inch (6.35mm) plug | A supported 1/4-inch input | Connect the microphone to the matching speaker input with a 1/4-inch cable. |
| 3.5mm plug with a different speaker socket | A compatible input and the appropriate adapter | Use an adapter that matches the microphone connection to the speaker connection. |
| UHF or VHF wireless system | A compatible receiver and a supported XLR or 1/4-inch input | Connect the receiver output to the speaker with the cable supported by that input. |
XLR is a three-pin connection commonly used on professional microphones. A well-insulated XLR cable can help reduce noise and interference, while a damaged or poor-quality cable may affect the sound.
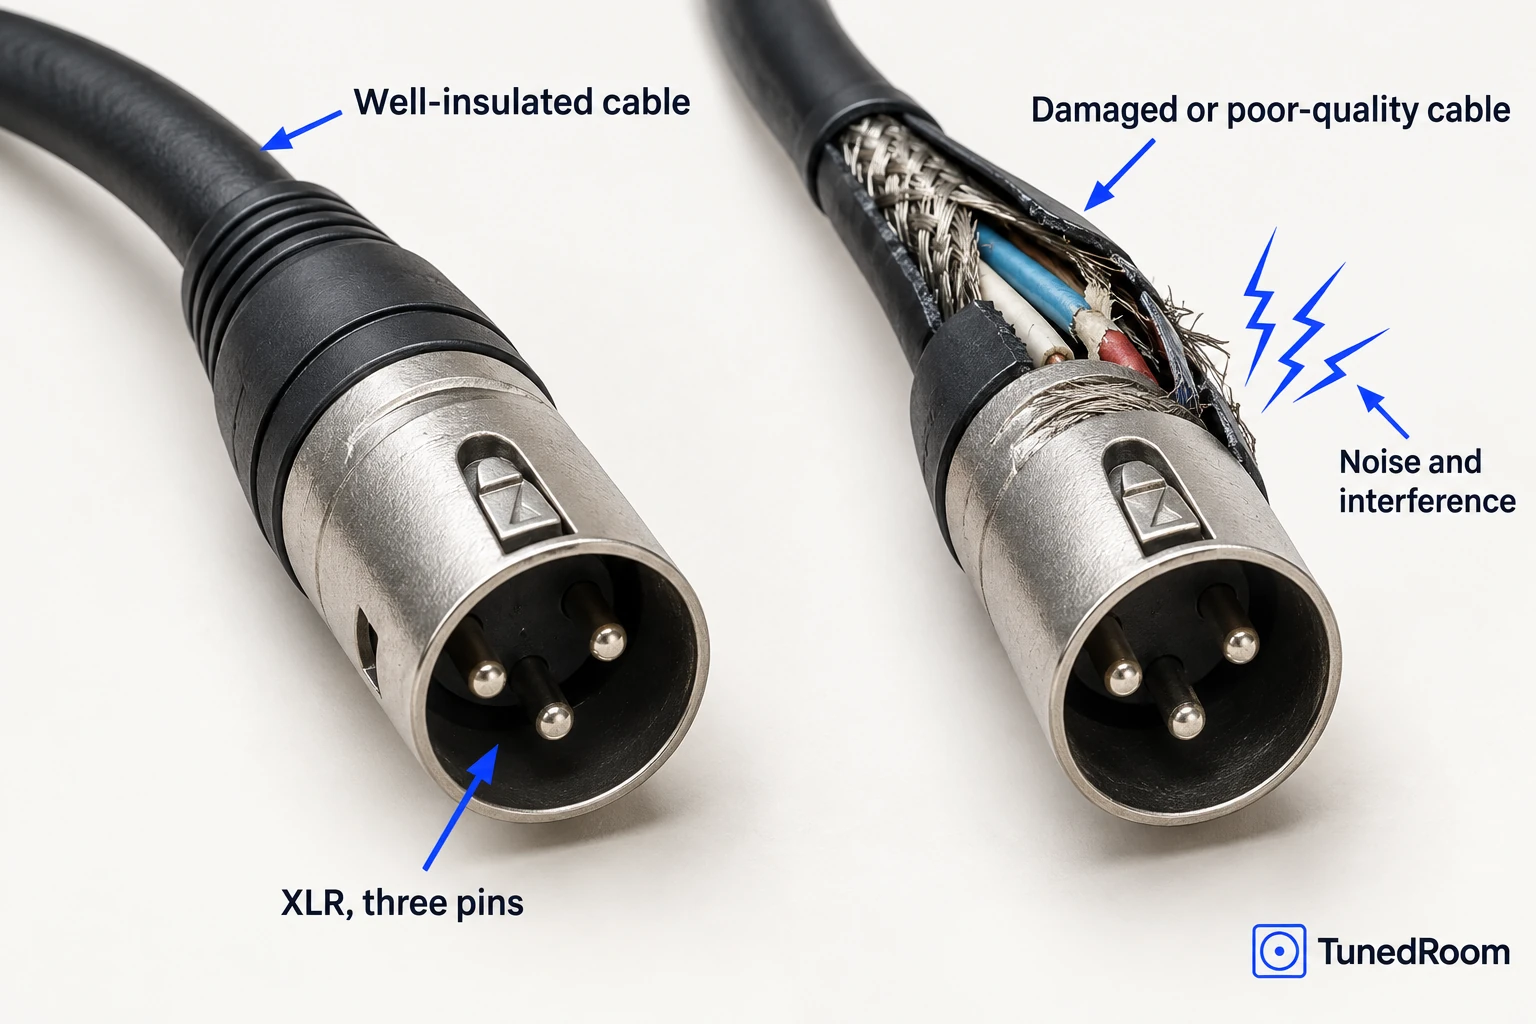
A 1/4-inch connection can be TS or TRS, and the source describes mono TS as the more common microphone version. Check the actual connection on your mic and the input supported by your speaker before choosing the cable.
Some smaller lapel and handheld microphones use a 3.5mm connection. Soundcore’s connection guide (opens in a new tab) gives 3.5mm-to-XLR and 1/4-inch-to-XLR as adapter examples when the connection types differ.
Connect a wired microphone
A direct cable is the most straightforward route when the microphone connection and speaker input match. The supported examples are XLR to XLR and 1/4-inch to a matching 1/4-inch input.
- Identify the connector on the microphone, then locate a speaker input that supports the same connection type.
- Connect an XLR microphone to an XLR speaker input with an XLR cable, or connect a 1/4-inch microphone to a supported 1/4-inch input. The completed cable run should lead directly from the mic to the matching speaker input.
- If the connection types differ, fit the appropriate adapter between them. The finished path should match the microphone connection at one end and the speaker connection at the other.
- Adjust the speaker’s volume or gain while speaking into the mic. Stop raising the level when you have clean sound rather than distortion.
- Test the whole setup before you need it, listening for feedback, distortion and a weak signal.
A Bluetooth speaker may not have the input you need
Don’t mistake a built-in call or voice-assistant microphone for a mic input. Those built-in microphones serve different functions and don’t provide the dedicated input needed for this wired connection.
Typical Bluetooth speakers are designed to play audio wirelessly, and most don’t support a direct wired microphone connection. Look for a speaker whose listed features specifically include a mic input or aux input, then confirm that the input supports the connection you plan to make.
The presence of an aux-shaped socket is not, by itself, a guarantee that it accepts every microphone. Use the speaker’s supported-input information to choose the connection, then match the mic or adapter to it.
A wireless mic usually needs its receiver
In a UHF or VHF wireless system, the microphone sends its audio to a receiver. The receiver then becomes the wired part of the signal path into the speaker.
- Confirm that the wireless microphone and receiver are a compatible pair. Follow their setup instructions to match the wireless settings, and keep the microphone within the receiver’s operating range.
- Connect the receiver’s output to the speaker with a supported XLR or 1/4-inch cable. Check that the speaker input accepts the receiver’s output level, not just its plug shape.
- Speak into the wireless microphone and test the signal before the event. Move within the intended working area while checking for a weak signal, dropouts or interference.
- Adjust the speaker’s volume or gain until the signal sounds clean without input distortion.
The microphone must be compatible with its receiver. That receiver may be built into the speaker or connected to a supported speaker input by cable; a cabled speaker does not need matching wireless technology.
On the soundcore Rave 3S included mics connect automatically
On the soundcore Rave 3S, the included dual wireless microphones form a matched set with the speaker. Power on the Rave 3S and those included microphones, and they connect automatically.
That automatic connection belongs to the Rave 3S and its included microphones. It’s a different setup from the UHF or VHF route where an external receiver connects to the speaker by XLR or 1/4-inch cable.
Once the included microphones are connected, test them before use and adjust the speaker’s volume or gain for clean sound without feedback, distortion or a weak signal.
What the sound tells you to check
If the mic is connected but the result isn’t clean, trace the same path in order. Check the connection type, the speaker input, the cable or wireless receiver, and finally the level and microphone position.
- For no usable wired signal, confirm that the microphone’s connection matches an input the speaker supports. If it doesn’t, use the appropriate adapter.
- For noise or interference on a wired connection, inspect the cable and use a well-insulated cable. A damaged or poor-quality cable may affect sound quality.
- For a weak or dropping wireless signal, keep the receiver within range, verify that it feeds the correct speaker input and test the path before the event.
- For distortion, adjust the speaker’s volume or gain because microphone output that is too high for the input can distort.
- For feedback or echo with a high-sensitivity microphone, increase the distance between the microphone and speaker, then test again.
You’re done when speaking into the microphone produces a clean signal from the speaker without feedback, distortion or weak signal strength. Run that check before the presentation, performance or other planned use so you can correct the connection, receiver position or level first.
More in this category