Keep your prompts on your computer
- With your projector connected, use Presenter View to keep speaker notes on your computer while the audience sees only slides.
- On Windows, begin on the Slide Show tab. On Mac, use the separate display setup and Presenter View command below.
- If the notes land on the projector, swap the presenter and slide-show displays.
Your laptop can hold the prompts you need without putting them in front of the room. We'd choose the presenter screen explicitly before starting on Windows, because PowerPoint lets you assign that view to the monitor you'll read from.
The Windows procedure applies to desktop PowerPoint for Microsoft 365, 2024, 2021, 2019 and 2016. The Mac instructions cover PowerPoint for Microsoft 365 for Mac, 2024 for Mac and 2021 for Mac, with a display-settings route that uses System Preferences.
Start the show on Windows
With the projector already connected, open your presentation in PowerPoint. The setup has two choices: whether to use Presenter View and which monitor should carry it, so choose the computer screen you'll be looking at as you speak.
- Select the Slide Show tab so its presentation controls are visible.
- Select the Use Presenter View checkbox and leave it checked.
- Select the monitor you want to display Presenter View on, with your computer screen chosen for your notes.
- Select From Beginning or press F5. The show starts with the first slide.
These are Microsoft's Windows Presenter View steps (opens in a new tab). If you prefer the ribbon command to the keyboard shortcut, From Beginning is in the Start Slide Show group on the Slide Show tab.
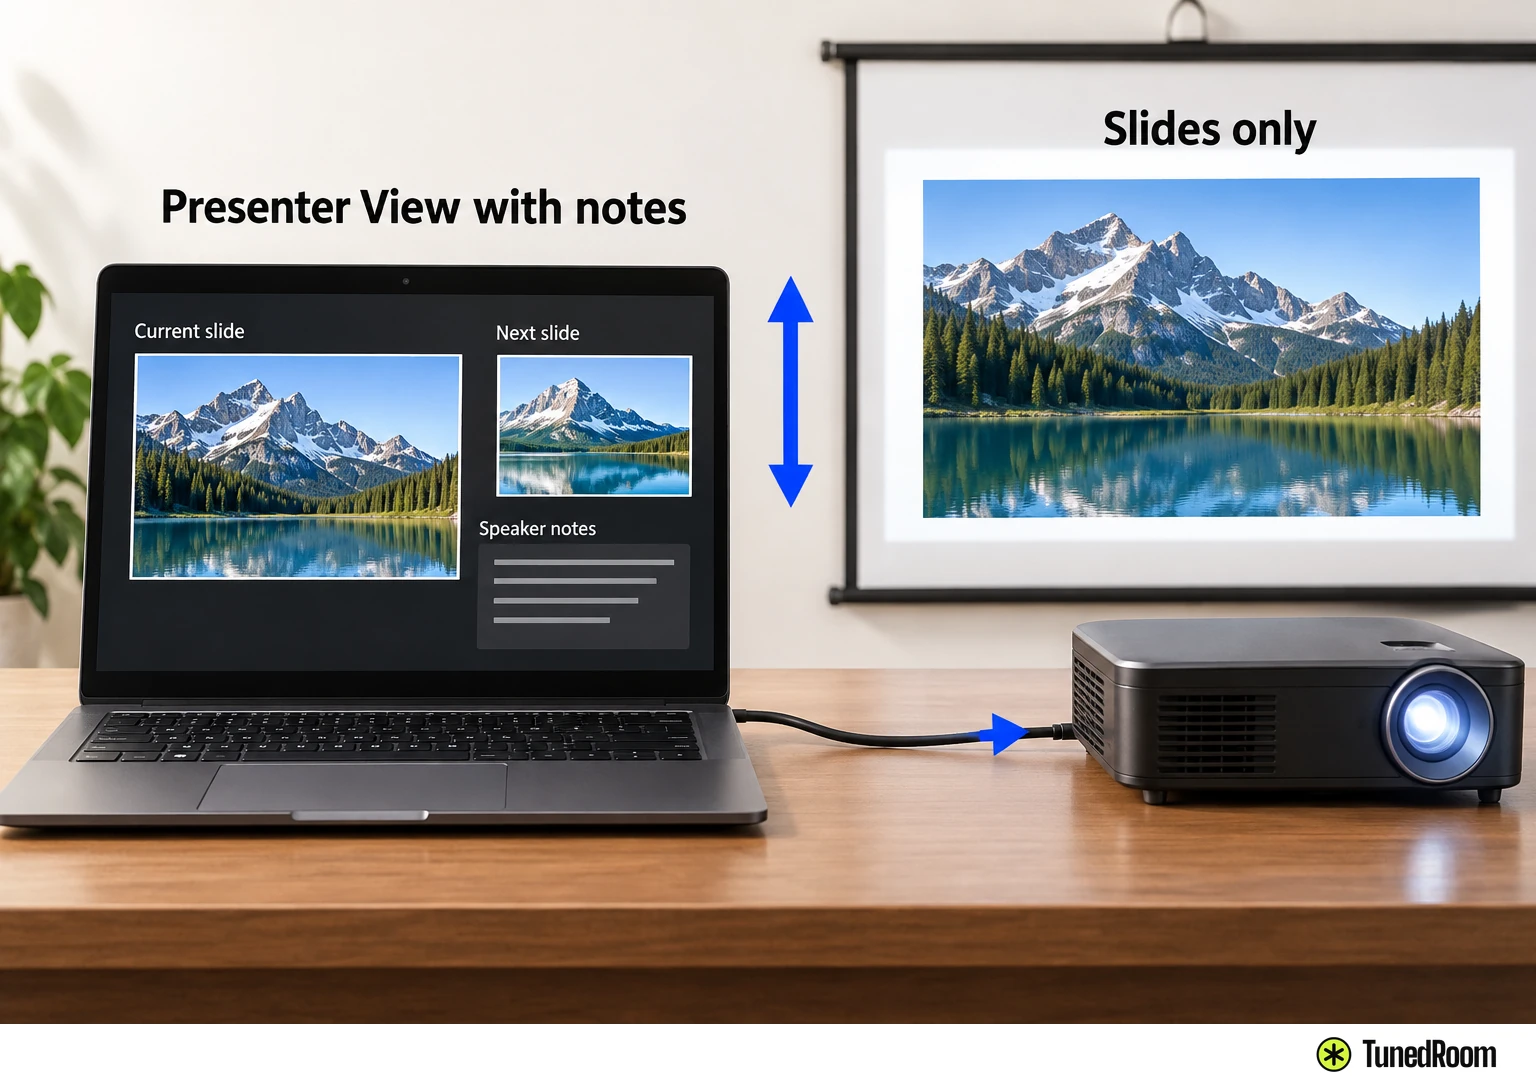
Once the show starts, look at both outputs. Your computer should carry Presenter View, including your notes, while the projector should show only the slide. If those views are reversed, use the screen-swap instructions below.
Set up the separate views on Mac
For the Mac interface with System Preferences, turn off display mirroring before starting Presenter View. This gives you a two-display setup so the presentation can occupy one screen while the other remains your own workspace.
- Open the Apple menu and select System Preferences. Its preferences window opens.
- Open Displays, then select the Arrangement tab to see the arrangement controls.
- Clear the Mirror Displays checkbox so it is no longer selected.
- In PowerPoint, select Slide Show > Presenter View. With the projector connected, Presenter View appears on your computer and the slides appear on the projector.
Microsoft's Mac display and Presenter View instructions (opens in a new tab) use those System Preferences, Displays and Arrangement labels. Follow this branch when that is the interface you're using.
The result is a separate audience view: the room sees your slides, while the computer carries your presenter workspace. The display arrangement also allows other applications to stay private on the other screen while a slide show runs.
Put the notes back on the right screen
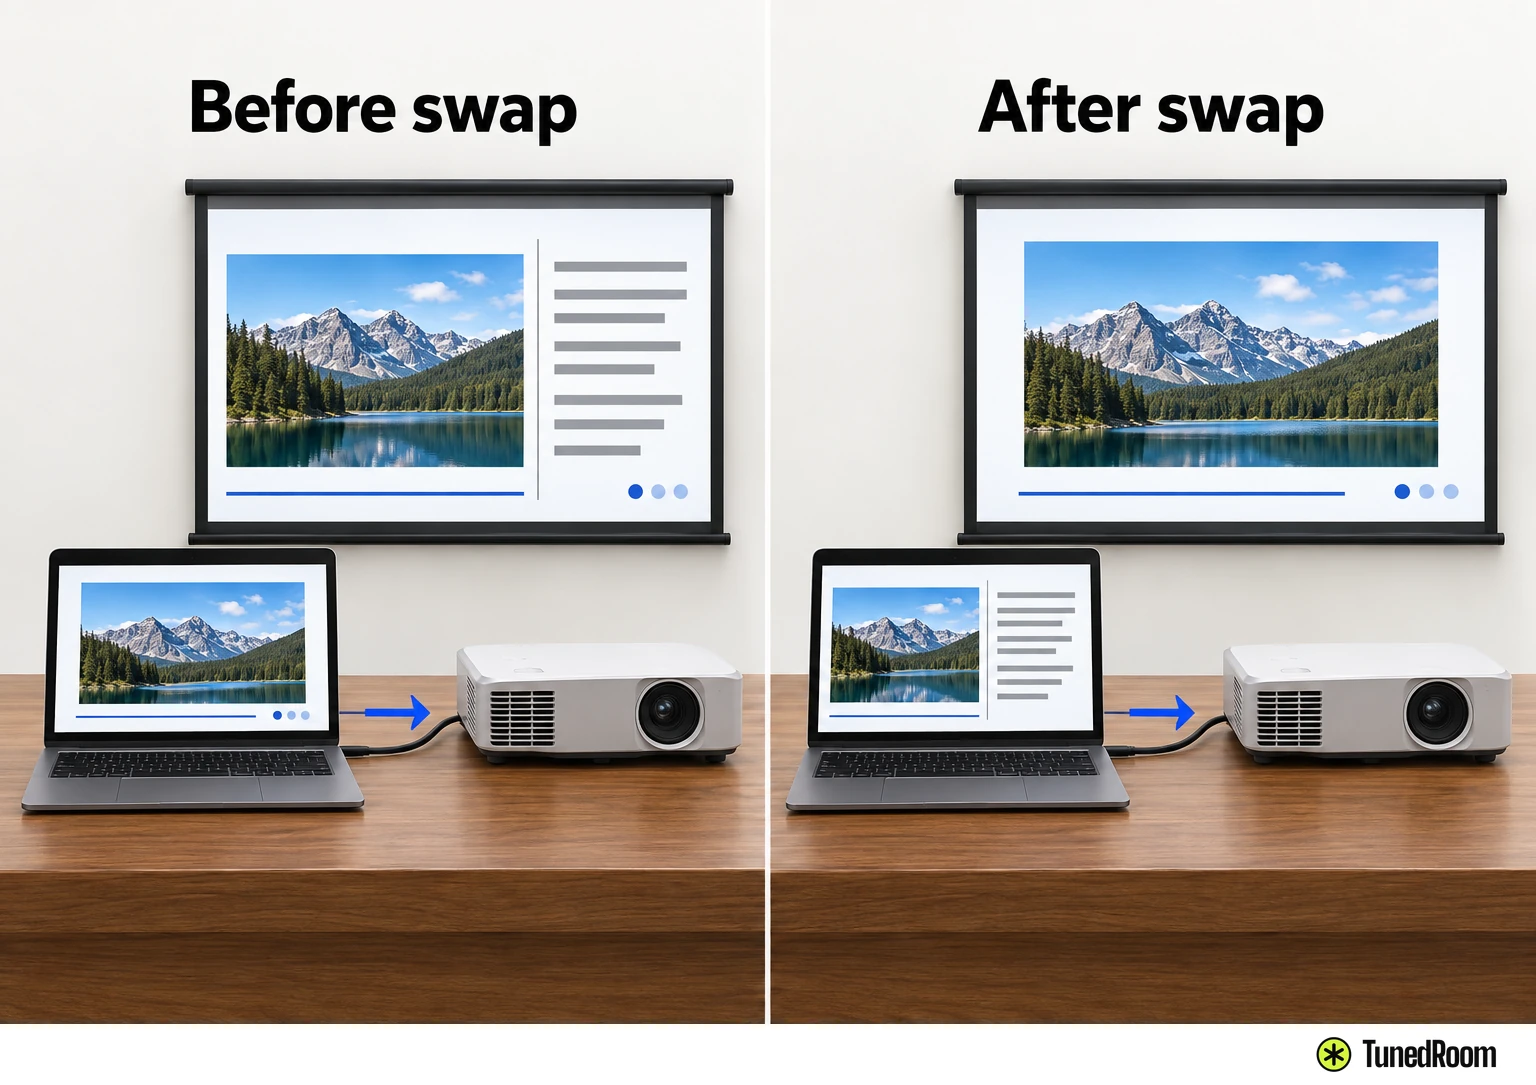
If your notes are projected and the plain slide is on your computer, change which display gets each view. PowerPoint has a control for this inside Presenter View, with different names on Windows and Mac.
On Windows, go to the task bar at the top of Presenter View. Select Display Settings > Swap Presenter View and Slide Show. This exchanges the screen showing your notes with the screen showing only the slides.
On Mac, select Swap Displays on the task bar at the top left of Presenter View. That controls which screen shows the presenter notes and which shows the audience's slides.
After using the appropriate PowerPoint screen-swap control (opens in a new tab), check the projected image before carrying on. The useful confirmation is slides alone on the projector, with your notes back on the computer.
Read the current slide and your notes together
In Presenter View, you can see the current slide, the next slide and your speaker notes together. Use the current slide to keep track of what you're discussing and the next-slide preview to see what's coming.
Your speaker notes belong to the presenter workspace. With the computer and projector views assigned as described above, the audience sees the slides themselves, so you can read your prompts without displaying that notes pane to the room.
In the PowerPoint 2016 Windows layout, notes sit in a pane on the right. Text wraps automatically, and a vertical scroll bar appears when needed, so a longer note can continue below the visible portion of the pane.
Make the notes comfortable to read
If the notes are hard to read, adjust their text size inside Presenter View. On Windows, select the font icons to make the speaker notes larger or smaller.
On Mac, use the two buttons at the lower left corner of the Notes pane to change the text size. Notes wrap automatically, and a vertical scroll bar appears when necessary.
You can also adjust the Mac panel sizes by grabbing and dragging the vertical line between them. That lets you change the space used by the current slide and the notes-and-next-slide panels.
In the Windows Presenter View layout, if you'd prefer more room for notes and don't need the current-slide preview, drag the vertical separator all the way left. Microsoft's notes and panel controls (opens in a new tab) give you both text-size and workspace adjustments.
End the Windows slide show
When you've finished presenting on Windows, select END SLIDESHOW. Use that command to end the presentation (opens in a new tab).
More in this category