Start with a soft brush
- Use a soft stylus brush and move it from the back of the cartridge to the front only, never sideways.
- Press STOP, let the tonearm return to its rest, and unplug the turntable before you start.
- Debris still there? Use a purpose-made stylus cleaner, very sparingly, never household alcohol or detergent.
- Tip looks bent or damaged, or the sound is still poor? Stop cleaning and look at a replacement or support.
Dust the stylus picks up from records can dull the sound and may even damage the stylus assembly, so a gentle clean is worth doing. We'd start with a dry soft brush and only reach for cleaning fluid if the brush leaves debris behind, since Audio-Technica's advice for this turntable is a soft brush moved back to front, with fluid used very sparingly.
These steps are for the original AT-LP60-BT. If your label says LP60XBT or LP70, check that model's own instructions, because its parts and controls differ. The rear-to-front, never-sideways brushing rule is Audio-Technica's general stylus advice, while the stop, guard and headshell details below are specific to this model.
There's no set schedule for the original stylus. Audio-Technica simply says to clean the tip frequently, and fine dust can build up on it even when it looks clean.
Stop the record and get the stylus ready
- If a record is playing, press STOP and wait for the tonearm to return fully to its rest and the turntable to shut off. Let that automatic return finish on its own, because interfering with the tonearm while it moves can damage the mechanism.
- With the tonearm resting, unplug the turntable so it can't start while you clean. Leave the arm on its rest.
- Gently pull the stylus guard (opens in a new tab) forward off the stylus assembly, keeping your fingers on the guard and away from the needle. If it won't come off without force, stop and ask Audio-Technica support for help.
- Get enough light to see the stylus tip and tell the back of the cartridge from the front. Keep your fingers off the tip, and don't bump it against the record edge or the turntable mat.
Keep the guard on whenever you install, move or clean the turntable itself, since it's there to protect the stylus. Take it off only when you need to reach the stylus or you're about to play a record.
Brush only from rear to front
Go by the cartridge itself, not by the side of the turntable you're standing at, and brush from its rear toward its front. If you can't tell which end is which, stop before the brush touches the tip.
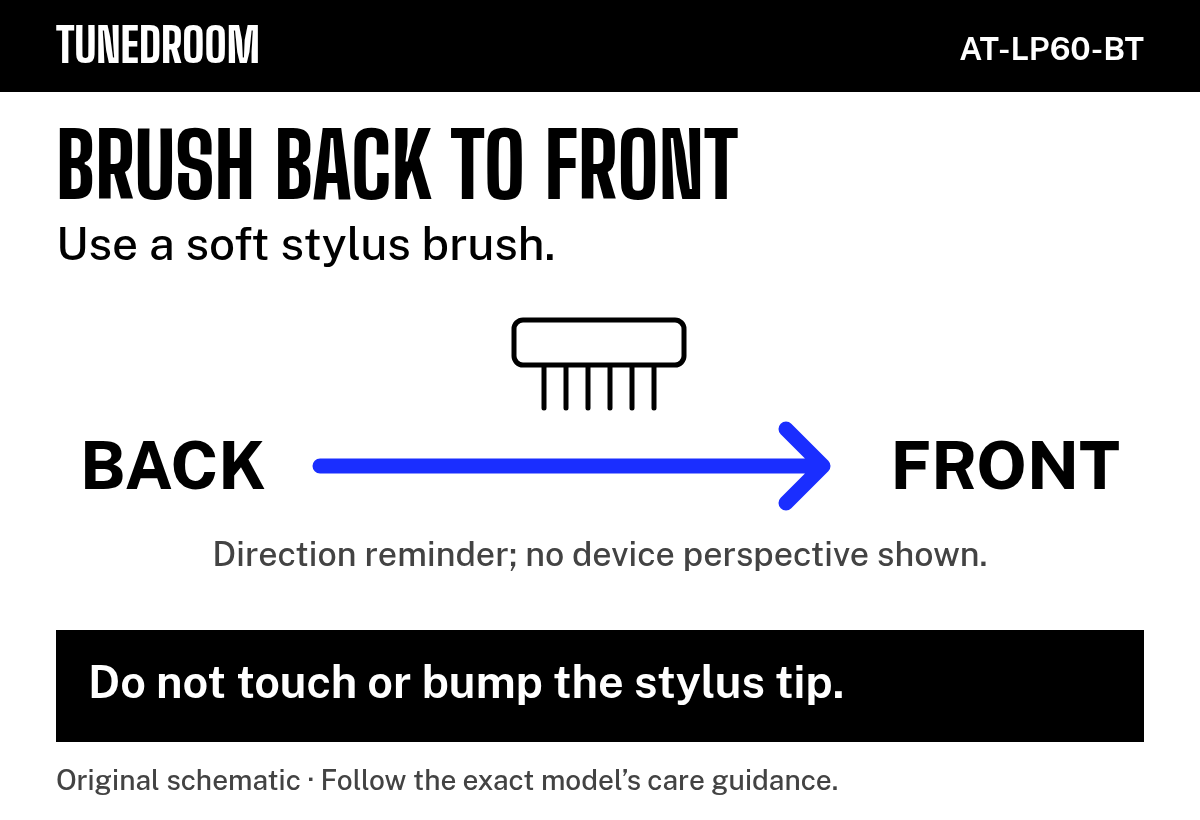
With the tip accessible and the tonearm still, carefully brush the tip from the rear of the cartridge toward the front. Lift the brush clear after each forward stroke so it doesn't travel back across the tip, then look at the tip again.
If debris is still there, don't switch to sideways scrubbing or try to scrape it off. Sideways brushing can damage the cantilever, the small support that carries the stylus tip, so keep every stroke going rear to front.
If dry brushing leaves debris
Use a purpose-made stylus cleaning fluid, very sparingly, and follow its directions. Don't soak the stylus or use household alcohol, detergent or a homemade mix. Mild detergent is only for the housing and dust cover, and harsh chemicals or solvents shouldn't go on any part of the turntable.
With Audio-Technica's AT607a stylus cleaner (opens in a new tab), wipe its brush against the bottle's edge to remove excess fluid, then brush rear to front without dripping onto other parts of the cartridge. Tighten the cap afterwards so the fluid doesn't evaporate, and store it away from children and pets.
The sound is still off after cleaning
Once the tip looks clean and intact, finish handling the stylus, reconnect the power and play the same familiar, clean record to compare. If it sounds the same, we'd stop brushing and work through the checks below, because distortion and weak sound can also come from the PHONO/LINE selector or a stylus assembly that isn't fully seated.
- Very distorted through a wired PHONO input: set the selector on the back to PHONO. LINE output into a PHONO input overloads it.
- Quiet through an AUX, CD or TAPE input: set the selector to LINE, and check that the speaker's input gain isn't too low.
- Only a Bluetooth problem: the PHONO/LINE selector doesn't affect the original AT-LP60-BT's wireless connection, so changing it won't help.
- Weak after the stylus assembly was handled: check that it's fully seated, with no gap between its top edge and the front of the black tonearm head. There's no need to take it off just to clean it.
If the problem shows up on only one record, try another familiar, clean record before you replace anything.
When the stylus needs replacing
Check which stylus is fitted before you go by hours of use. The original ATN3600L should be replaced after 400 hours. The current ATN3600LC (opens in a new tab) also fits the LP60 series, but its life is about 300 to 500 hours, so use the interval for the one on your turntable.
With the turntable unplugged and the tonearm on its rest, remove the original assembly by holding the head of the tonearm and rotating the front of the stylus assembly forward and down. Fit the new one without touching the stylus itself, seating the projection at the back in the cartridge body first, then clicking it up so there's no gap between its top edge and the front of the black tonearm head. Audio-Technica recommends a genuine Audio-Technica replacement stylus to keep the original performance.
For visible damage, awkward access or sound that stays poor, contact Audio-Technica support or a turntable repair shop. Have the exact model, the fitted stylus or your purchase record, what the tip looks like, whether you listen wired or over Bluetooth, and what the cleaning and record comparison showed.
More in this category
Keep following the signal
Elsewhere on the desk