Choose the route that fits your home
- Connect your Play:3 to power and use the Sonos app for iOS or Android to set it up.
- For a new system, begin with Set up new system. For an existing system, use Settings > Add Speaker or Component.
- Using S1 Controller? Follow the separate S1 choices below.
If you've already got Sonos speakers in your home and want this one alongside them, we'd use the existing-system route because that flow adds the Play:3 to the system you have. The new-system route serves a different starting point, with an account step before you select the speaker.
There are two choices to keep straight as you go: whether you're creating or expanding a system, and whether you're using the current Sonos app or S1 Controller. Pick the section that matches both. That keeps the menu names you're looking for tied to the setup you're actually doing.
Get the speaker and your WiFi ready
Place the Play:3 where you want to use it, then connect it to power. Have your mobile device ready for the next part, because the speaker's setup continues in the app. Those are the starting actions in Sonos's US Play:3 setup instructions (opens in a new tab).
Have your home WiFi network name and password ready before beginning. Connect the mobile device you'll use for setup to that WiFi, and check its selected network. Your Sonos products and the device running the app need to be on the same WiFi network, so this check applies whether the Play:3 is your first speaker or another addition.
Sonos recommends home WiFi for most homes in its US system setup guide (opens in a new tab). Treat the network name as part of your setup preparation alongside the password: it identifies the network you're putting the system on, while the password is the credential to have available as you work through setup.
Your app and account choices
Download the Sonos app for iOS or Android from your mobile device's app store. Both mobile platforms are included in the Play:3 setup instructions, so follow the path for the app you're using on your device. The app guides the setup after you've prepared the speaker.
Sonos's general setup guide names the Sonos S2 app as its app requirement. The Play:3-specific instructions call it the Sonos app and separately give Sonos S1 Controller alternatives. For this speaker, we'd follow those model-specific branches because they spell out which menu choices belong to each app.
For a new system, have your Sonos account sign-in ready if you already have an account. If you don't, you can create one during setup, so you can begin the process without first creating an account elsewhere. The account is used to manage and expand your Sonos system, giving that sign-in step a purpose beyond adding this individual speaker.
Set up your first system
Begin here if the Play:3 is going into a new Sonos system. The account stage comes before the product's Add prompt, and the pop-up showing Play:3 is your cue to select this speaker. Follow this sequence in the current Sonos app.
- Open the Sonos app on your iOS or Android device. Look for Get started with setup.
- Under Get started with setup, select Set up new system. You'll reach the account stage, where you create an account or sign in.
- After the account step, select Add on the pop-up showing your Play:3. Continue into the setup prompts that follow.
The Add choice here belongs to the pop-up for the speaker. It's a different entry point from the Settings menu used when expanding a system you already have. Sonos's US Play:3 setup page (opens in a new tab) gives this new-system sequence, including the account step and the product pop-up, together.
Add the Play:3 to a system you already use
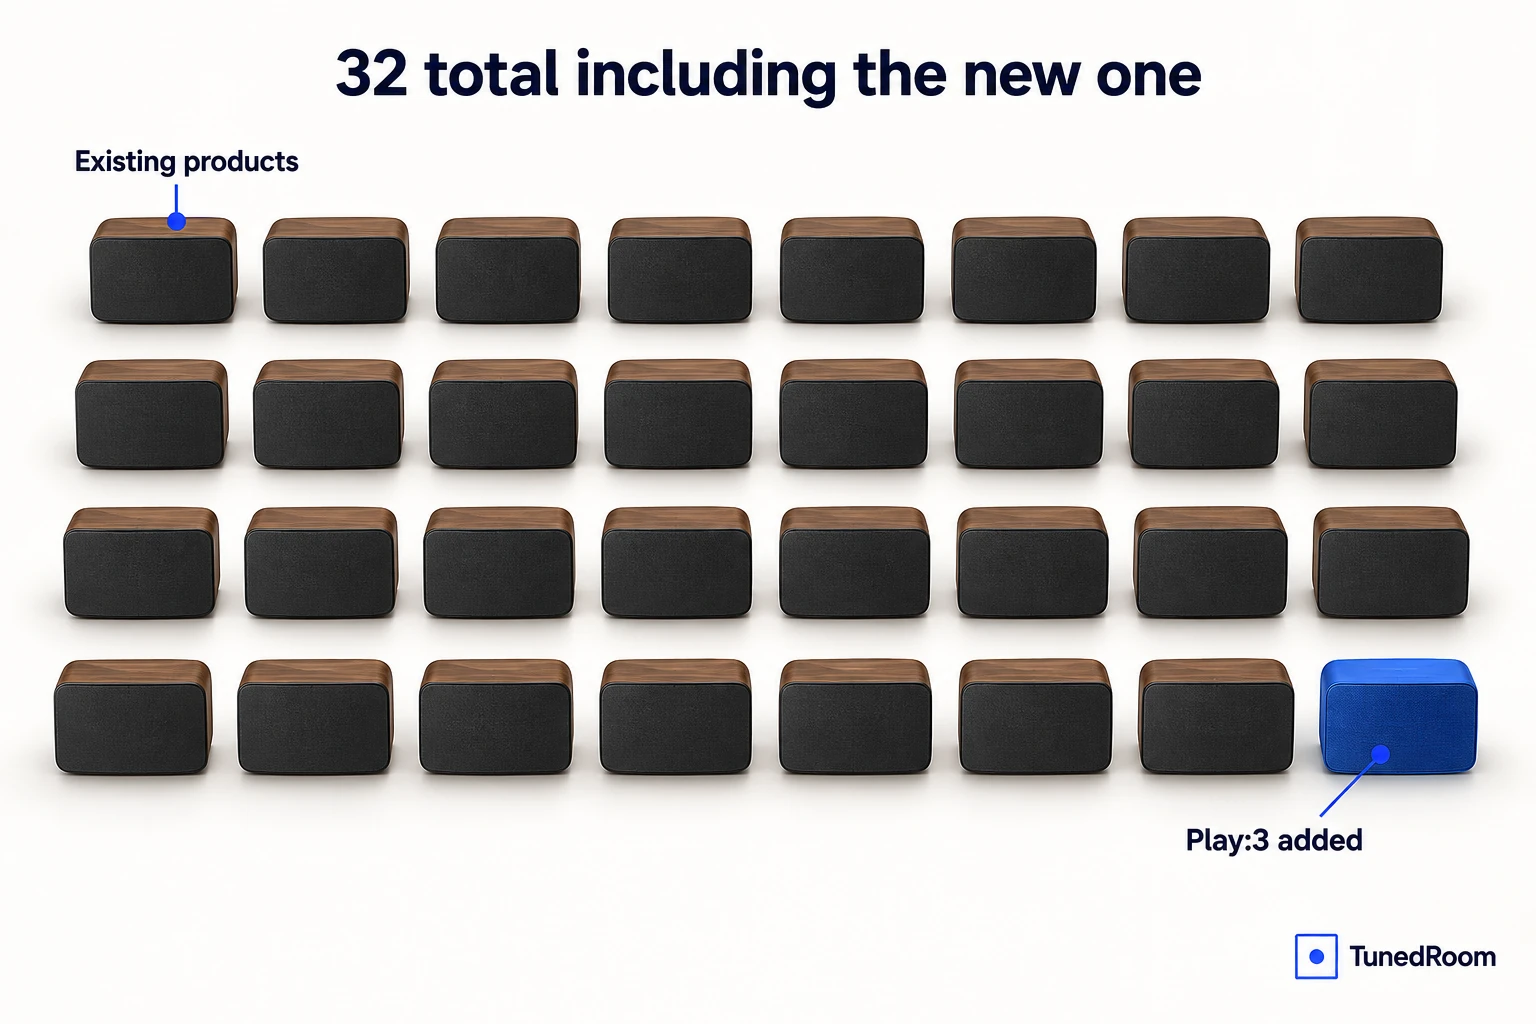
Before adding to a large system, check how many products it contains. Sonos specifies a maximum of 32 products per system in its US setup guide (opens in a new tab). Count the Play:3 as part of the finished total when checking that your addition stays within that limit.
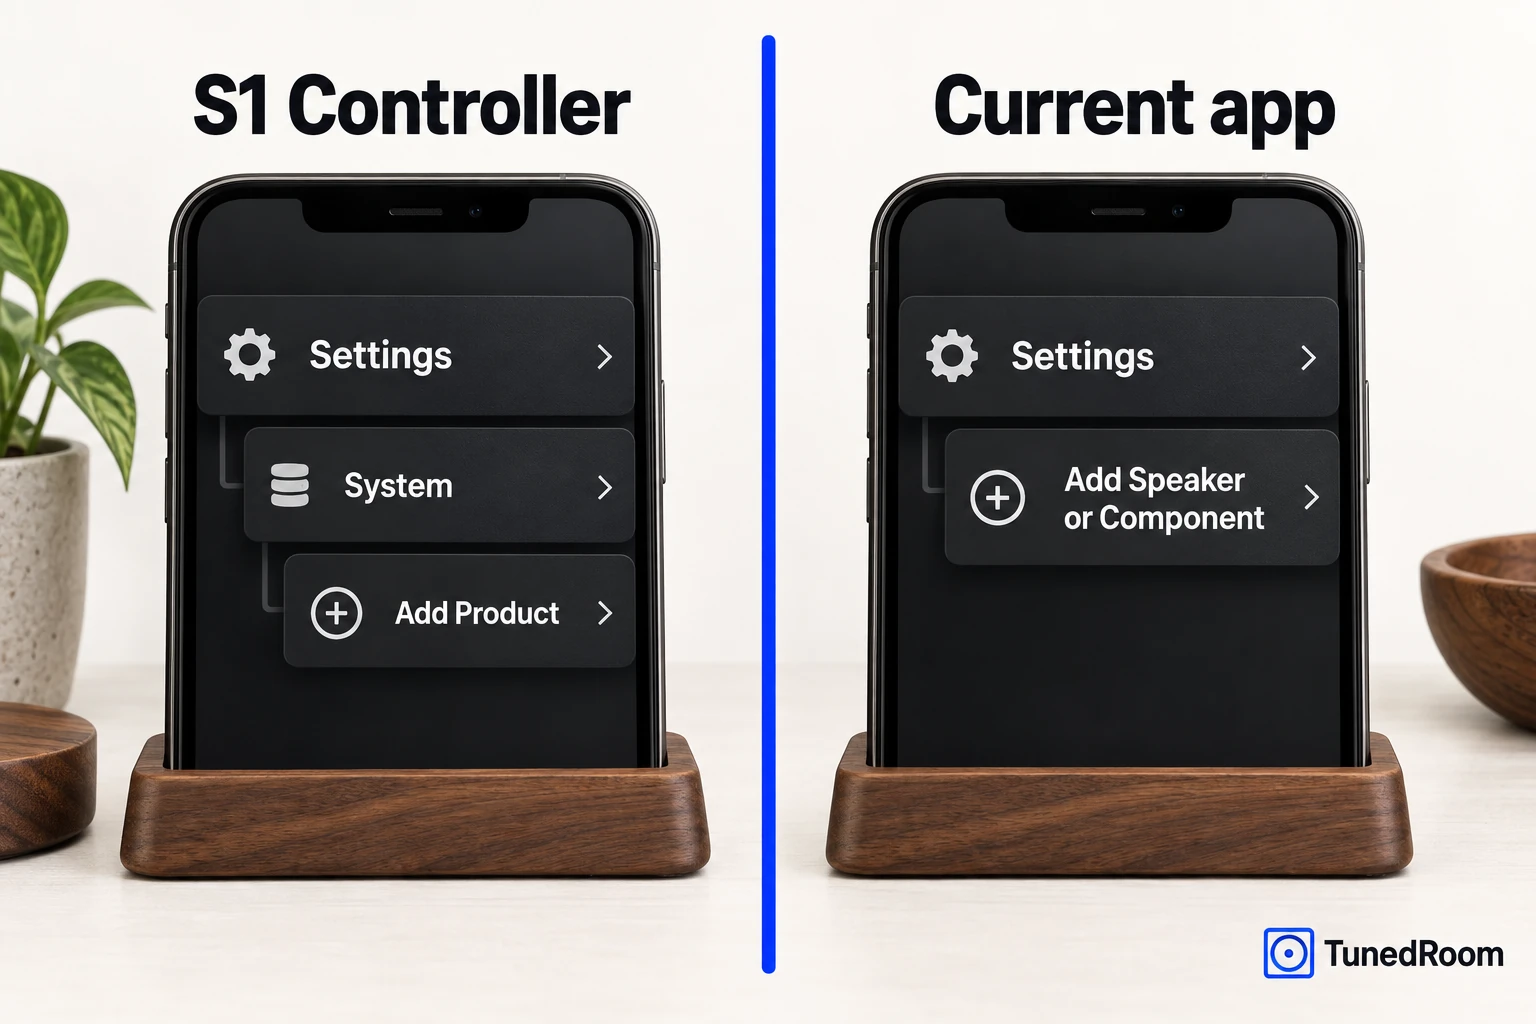
Open the Sonos app for iOS or Android, go to Settings, and select Add Speaker or Component. This is the Play:3's current-app route into an existing system (opens in a new tab). The prompts that follow guide you through adding the speaker to that system.
You may also encounter an Add prompt when a product appears in the app. Sonos's general add-product instructions offer that prompt or the Settings route as entry points. If you're looking for the named menu option, the Play:3-specific path above gives you a direct place to begin.
Use these menu choices in S1 Controller
Keep the S1 menu choices together if that's the controller you're using. The US Play:3 setup instructions (opens in a new tab) include an S1 branch for both starting a new system and adding to an existing one. Which branch you take still depends on what you're setting up.
For a new system in Sonos S1 Controller, select Continue, then choose Set up products at the product-setup stage. These are the conditional S1 choices at the point where the current-app instructions describe the Play:3 Add pop-up. From there, continue with the setup flow in S1.
For an existing system in Sonos S1 Controller, open the Settings tab, select System, then choose Add Product. This path includes the System menu between Settings and Add Product. Use that full S1 path when you're expanding a system through S1 Controller; the current app's Add Speaker or Component wording belongs to its separate branch.
Finish the prompts or get connection help
After entering the appropriate setup flow, follow the remaining instructions in the app through completion. For a new system, that includes setting up the Play:3 and adding your content services. For an existing system, the endpoint is completing the app's steps to add Play:3 to your Sonos system.
Use completion of that flow as your setup checkpoint. Selecting the product starts the guided work; the remaining prompts are part of finishing it.
If the Play:3 has trouble connecting during setup, open Sonos's US Play:3 setup page (opens in a new tab) and follow its Product not found link for connection help.
More in this category